Sunday, June 5, 2011

My New Obsession

I am officially obsessed with spray paint!  There are some amazing scientists out there that have developed a product that could change any DIYers life! Rust Oleum Universal Spray Paint! It comes in a variety of colors including metallics.  During our big remodeling project in the living and dining room there were several things that needed "something".  I was inspired by one of my favorite blogs, Young House Love.  They introduced me to the versatility of spray paint.    After reading about the different ways they've used this paint, I was instantly inspired!  There was suddenly so much to paint!  The birch wood curtain rod across the dining room windows, the living room cabinet hinges, the vent covers...basically anything that was going to be an accent in the living or dining room would now be this amazing oil rubbed bronze!

I set up outside...this stuff is TOXIC!

When it came to doing the hinges I had to get creative...I wanted to make sure the screws were painted as nicely as the actual hinges.  I always make sure I have a spare shoe box around the house...SO helpful when it comes to projects like this.  I poked the screws through the cardboard.  This allowed me to get a good cover of paint without the screws rolling around.  


The grates were tricky but well worth the effort.  It took me a couple rounds to make sure I got every bit covered. (The grass got a little color too!)

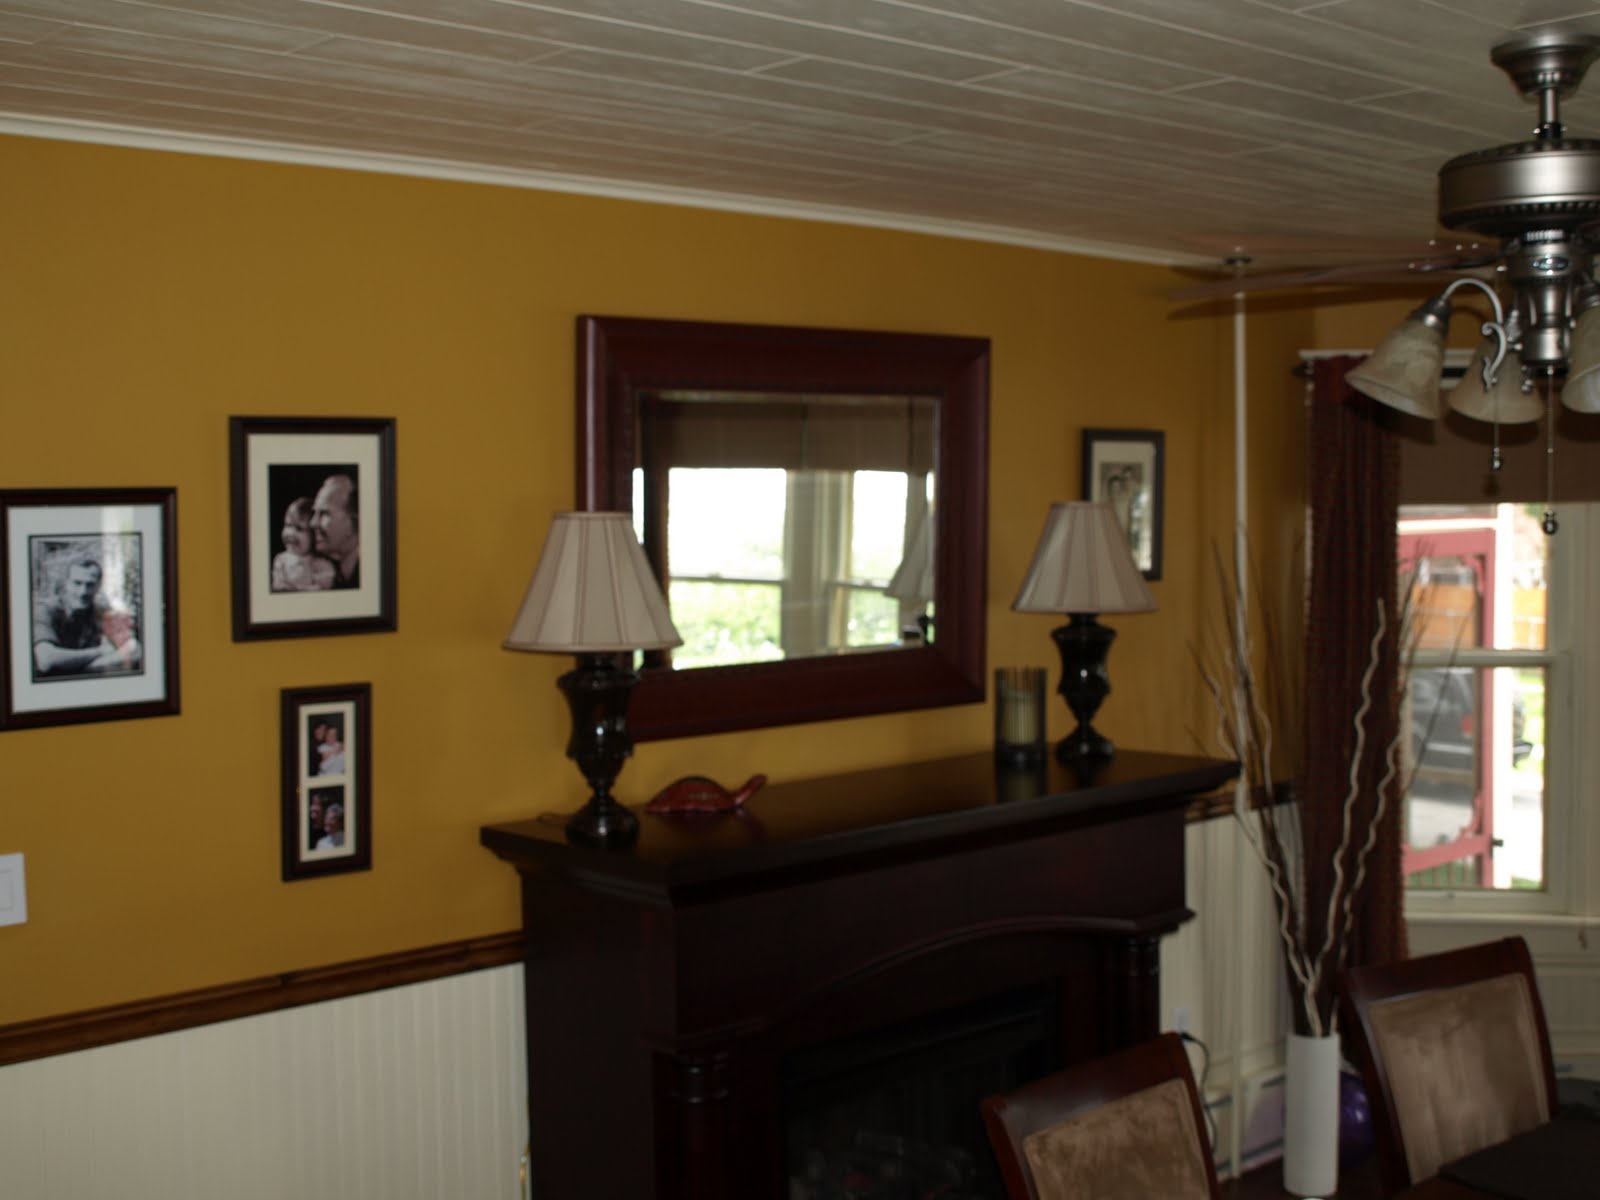
We were so pleased with out this little touch had such an impact on the room.  Notice the grate in this dining room picture.  It would like so odd if it was white and if it was the same color as the wall it would have looked like we were hiding something.  Why hide it...play it up! Use it as an accent! 

It's hard to tell in this picture but the hinges turned out great...much better than the flat black color they were.


 Notice how the curtain rod plays off the bronze color of the floor lamp.  
Such a small detail but it really pulls it all together.  


Don't worry this isn't the end of my Rust-Oleum spray paint obsession...I'm currently working on turning 80's porch furniture into something that "might" be sold in 2011! 

Tuesday, May 10, 2011

The Code Wasn't Right!

As you've seen here our dining room has recently gotten a new look!  One of the newest elements is the wall color.  I learned an important lesson working on that project...those paint codes really don't transfer between stores!
 As most people do, we had many many many paint chips that we looked at over and over till choosing a color.  I however did not pay attention to which store the paint chip was from; instead when we were ready to purchase the paint I went to the store that had paint on sale. (makes sense right?) The little paint man scanned the paint color and mixed me up some paint - perfect!  And it was perfect till halfway through the actual painting job (which was being done months after the paint was bought), we realized we needed more.  So off to the store I went...this time I chose the other home improvement store, without even thinking about it. (This time it was distance that made my decision.) I got the paint, we opened it and WOAH! It wasn't the same color...time to freak out!  It wasn't very different, just a little different - much deeper of a tone.

Slapped it on the wall and WOW it's even more beautiful than the other paint of the same name and code!

Hmm, so which was the WOW color?  The paint from the store that actually sells that paint color? Or the paint from the store where they matched the color?  Yup,  you guessed it...the store that actually sells that paint color!  Never again will I believe that little man who says, "Yup we can match any color!"

I just love coming down our stairs to this mirror against the Allspice paint!

Thursday, May 5, 2011

To Stain or To Paint...that was the question


Now comes the big decision...to paint or stain. We decided to buy wood so that we would have options.  Off to the store I went not even thinking that the rail had to have a special notch cut in the bottom to rest on the chair rail.  Do you know how hard that is to find?  VERY!  Finally I found it, the only way we could get it was in a pack which contained both the top and bottom rail for the wainscoting.  It was much cheaper than I expected so I didn't mind have a leftover piece (I'm sure i'll find a project for that...maybe a picture frame?)   

I loved the look of the pine wood...smelled good too!

As you already know we did decide to stain the wood.  Our thought was that if we didn't like it we could still paint it.  So we pulled out the can of stain that matches all the other wood in the house.
Minwax English Chestnut


We used cheese cloth to wipe on and wipe off the stain.  

Once it was dry we experimented with a new product (at least new to us), spray polyerethane by Minwax.  It is quick drying.  When something says quick drying i'm often skeptical but this really was!  We sprayed a few layers but it so easy and quick!  We will definitely use this product again!
Here is the finished chair rail...don't you love it!  There's something so beautiful about stained wood!

  Ever stain and get some on your hands?  Did you know Goo Gone removes it? Gotta love Goo Gone!  

To see the chair rail in its new home visit here.


Tuesday, May 3, 2011

A Place to Dine

Finally...the dining room!

As a reminder here is the before picture.
It had been used as the living room.  It is now a grand dining room perfect for our Easter family dinner! (we finished just in time!)
We still plan to get a proper buffet by the windows but just haven't found the right one yet! 
There are so many things to share about this room and all the little things we did to pull it together.  For now I'll just give you a quick tour around the room.
 This wall is one of the longest in the room.  The only one without a window or archway so it's a great spot to show you the colors.  The yellow shade is called Allspice which we previewed for you here. The wainscoting is the same as the trim color we used in the living room as you saw here.  We had a big decision (and you know how we are with decisions!) about what to do with the chair rail.  It had to be replaced but should we paint it or stain it.  As you can see we went with stain.  We think we made the right decision.  I'll tell you how we did it soon!  Once the wall was decorated and the massive fireplace found its new home things seemed to really be coming together!


Directly across from the fireplace we have a small wall between two archways.  One goes into the living room revealed here and the other one goes right out to the front porch. I'm not 100% set on this bookshelf here but for now it serves its purpose as a mail collection station and a spot to hold baskets of junk!

On the other side of the front door arch we brought in a new lamp to balance the lamps on the fireplace.  The lamp is anchored by a table which we can use to display special antiques like our "tea party" set. 

You can see a section of the huge windows in this image.  I will share more about them soon!  

Finally we have the wall with the staircase.  This is one of the reasons we stained the chair rail instead of painting it.  We love how the details of the staircase really pop now! 

We were very lucky through this whole project we had nice weather so Sanka was able to enjoy some fresh air while we did all the hard work.  At the end of the day she would come in and inspect our hard work! 

Wednesday, April 27, 2011

Living Room Finale

Weeks have passed without any updates on the progress of turning our house into a home.  I'd like to say it is because we've been so busy with our projects; while that is true the actual reason is that during the upheaval associated with remodeling our living and dining room I misplaced my camera card reader - oops!

It has been recovered though, along with two completed rooms.  First reveal is the living room!  For a quick reminder of what this room looked like a few months ago visit our beginning post here.  What once was a green toned dining room is now a vibrant red living room!
As we worked on this room I shared many of our big decisions, such as the windows, and carpet.  As we continued working, the decisions also continued! 
One of my favorite features of this room is the fireplace (no it's not real) and mantel.  What to do with this space?  The mantel is unique because it is the full length of the room with 2 distinct levels.  


We chose to put the TV to the left of the fireplace using an angle wall bracket.  Although it is a large part of the room it is not the central focus that it may have been if we had put it above the fireplace.

We've kept the center of the mantel very simple, but I think it needs one more thing under the frames.  (when I find the right piece I'll know it!)

We use the right side to display some sentimental photos and "stuff".  (More on the sconce later)


The shelves are hidden by simple doors with rustic hinges, these were a fun project! (More on that later too!)


Everyone is enjoying the new room!  Valentine is very happy with her bed under the windows (yes, it's a bit frustrating to me that her bed doesn't match, but she doesn't deal well with change!). 


Sanka seems to fit perfectly in this little corner!


Wednesday, April 6, 2011

Updating A Light

Part of making our house into a home is deciding what to keep, what to replace and what to change.  Both the dining room and living room have ceiling fans.  While these are not the most beautiful elements in a home...during the hot summer months they are necessary!  They have a victorian look, which matched the old decor.  They are okay with our new Rustic-Old World-Modern style (I'm still working on what to call it!), but they aren't great.  Or weren't great...they're awesome now!


By simply changing the glass shades we have created a new look...looks like a new fixture! For about 1/5 the cost of a new fixture we purchased new shades.


 Halfway through I could already see how great these new shades were going to be.


I am very pleased with the final result! 

Tuesday, April 5, 2011

A Taste of Britain in Our Home

Every once and awhile I like to try and make a proper British meal to please the English taste-buds that live in our home!    I decided to adapt the famous Bangers 'N' Mash.   For those that aren't familiar, it's really sausage with mashed potatoes and gravy! I chose to make an upside down Bangers 'N' Mash casserole...VERY simple!

I made mashed potatoes...this was the most time consuming part.  I was able to multi task by browning the sausages and making the gravy while the potatoes were boiling.

I used Bisto to make the gravy.  Bisto is a staple in most British households.  It's hard to explain what it is.  I think of it as flavored corn starch used to thicken gravies or soups.  It's not easy to find in the U.S., but it is available.


I added some onions to the gravy.  I think this is an important element...you could even add them to the mashed potatoes if you choose.


Once everything was cooked I put it together in a casserole dish.  I butterflied the sausages and laid them on the gravy then covered it all with the mashed potatoes.  It baked for about 20 minutes at 350 degrees. 


I served it on our special London plates.  (These were a steal at Marshalls)
It might not be the most beautiful meal, but it's delicious!!  

For those of you wondering, my plate did have vegetables on it...this one belonged to the vegetable-hating British taste-buds! 

Monday, April 4, 2011

We're Back!

The car excitement has worn off...or maybe it was my constant nagging that Easter is right around the corner...either way we're back!  The wallpaper is down and the paint is up! Going from victorian green striped wallpaper to a bold rustic modern gold (allspice to be exact) caused a bit of nervousness on my part.  I never thought I'd be the one that needed my nerves calmed!

A quick reminder of the old wall....and the first coat of Allspice going on.  (Stay tuned for the final dry paint)


There had been a few discussions on how far we would take the color upstairs.  Since the back stair wall goes the height of the house it is a tricky decorating decision.  It made sense to carry it to the top of that wall but then what about around the corner upstairs?  

Well I ran to the store and came home to a completely painted upstairs!  It was defintely the right decision!  It warmed up the whole hallway...BUT..and that's a big BUT...the carpet!!!!!!!!!!!!  It is green...and I mean green!  


Please excuse the exhausted dog & glaring cat above, they are not sure about this color combination either! They have been discussing what we should replace it with.  Hardwood? Carpet? Risk that there is hardwood under it?  Such decisions...

Related Posts Plugin for WordPress, Blogger...