Friday, March 25, 2011

Redecorating Intermission

We've been on a bit of an intermission..this intermission is the result of a new car!  Apparently playing with the new car in the garage is much more exciting than tearing down wallpaper!  I disagreed, so I started the "demolition."

We are now living in what looks like a set from a WWII movie!

The wallpaper comes off in two layers.  First the green stripes, which is like a vinyl.  Then under that is the paper which has the glue on it.  This paper gives the walls an old worn look while the lingering paper makes it look like the house was attacked!

You may be wondering why the paper seems to be hanging...well that's how tall I am!  I have a slight fear of ladders so I could only tear the paper as high as I could reach!  Those nice sections that go all the way up to the border...those were my victory tears!  That one tear that starts at the bottom and rips off all the way to the top without breaking off!  Those are the best!

So needless to say the entire room is now covered in half torn wallpaper...fingers crossed the rest will come down SOON!


I should explain, this is the same wallpaper that was in the dining room.  It comes off very easily...that first layer just tears off, then a little warm water on the paper backing and it comes right off the wall!  It's actually not as terrible as some of my previous wallpaper encounters.  

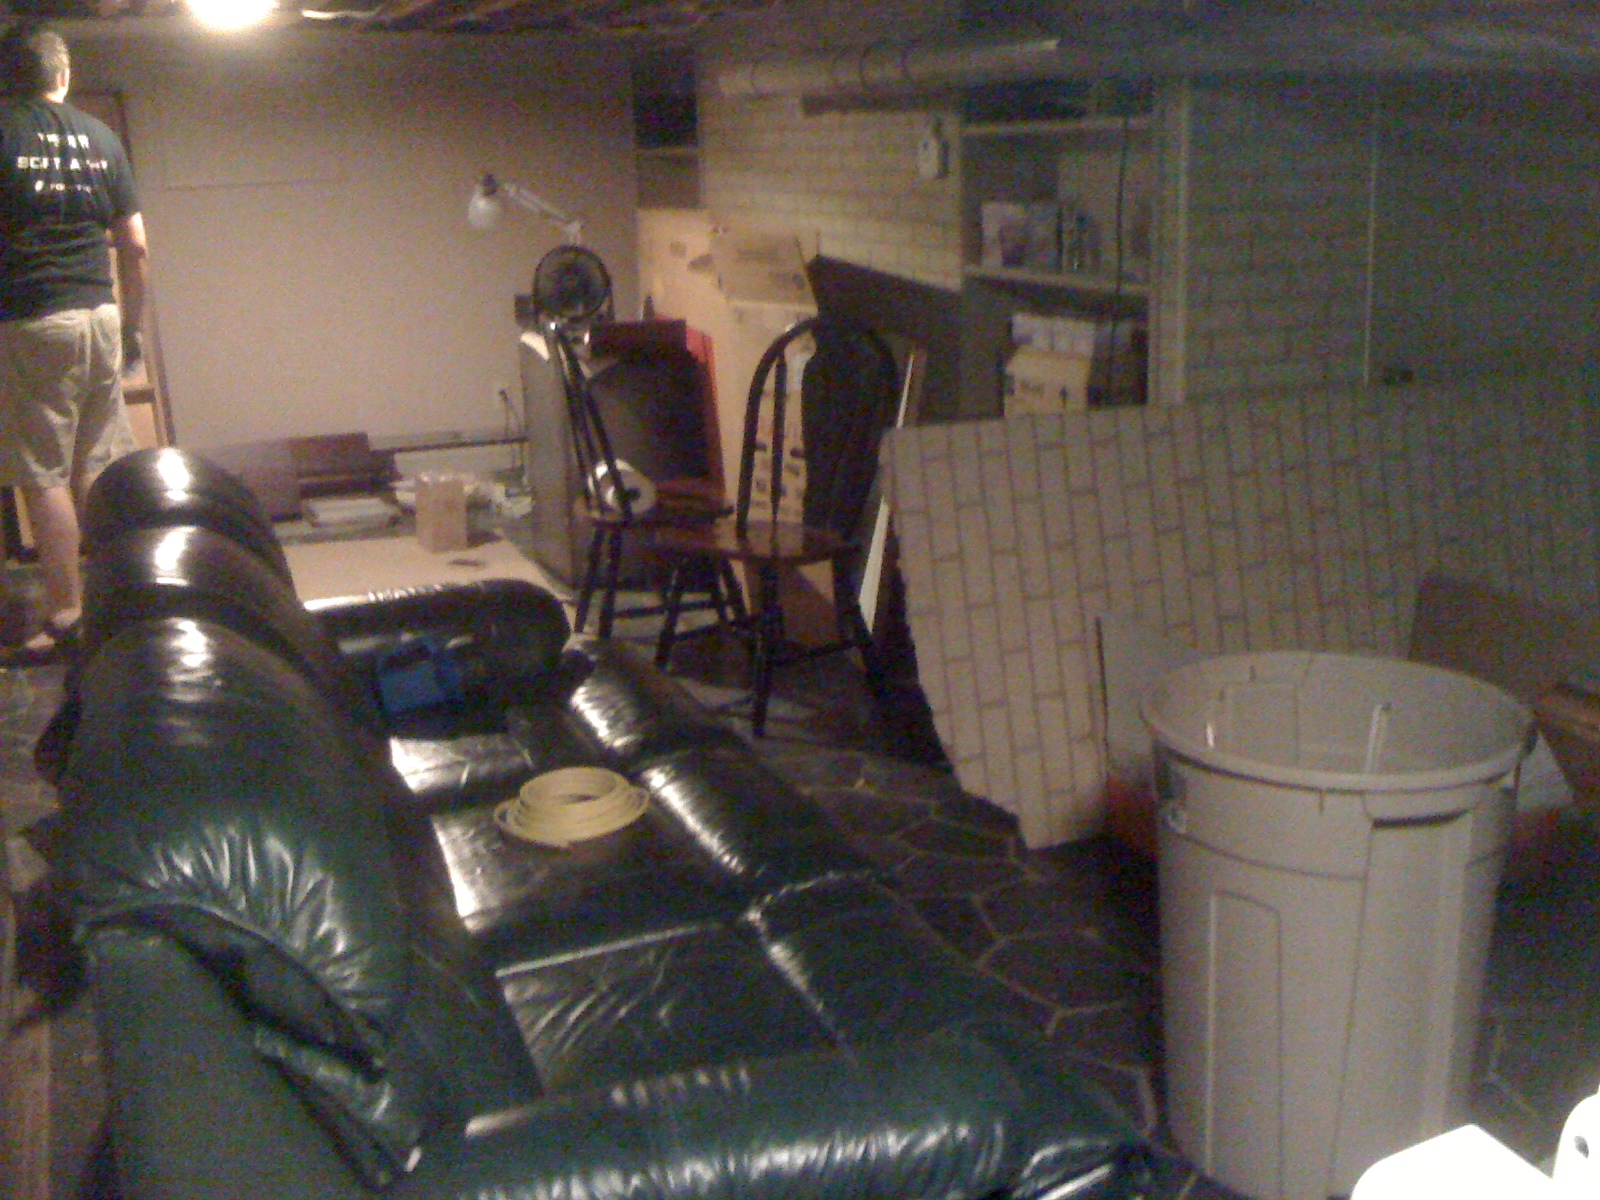
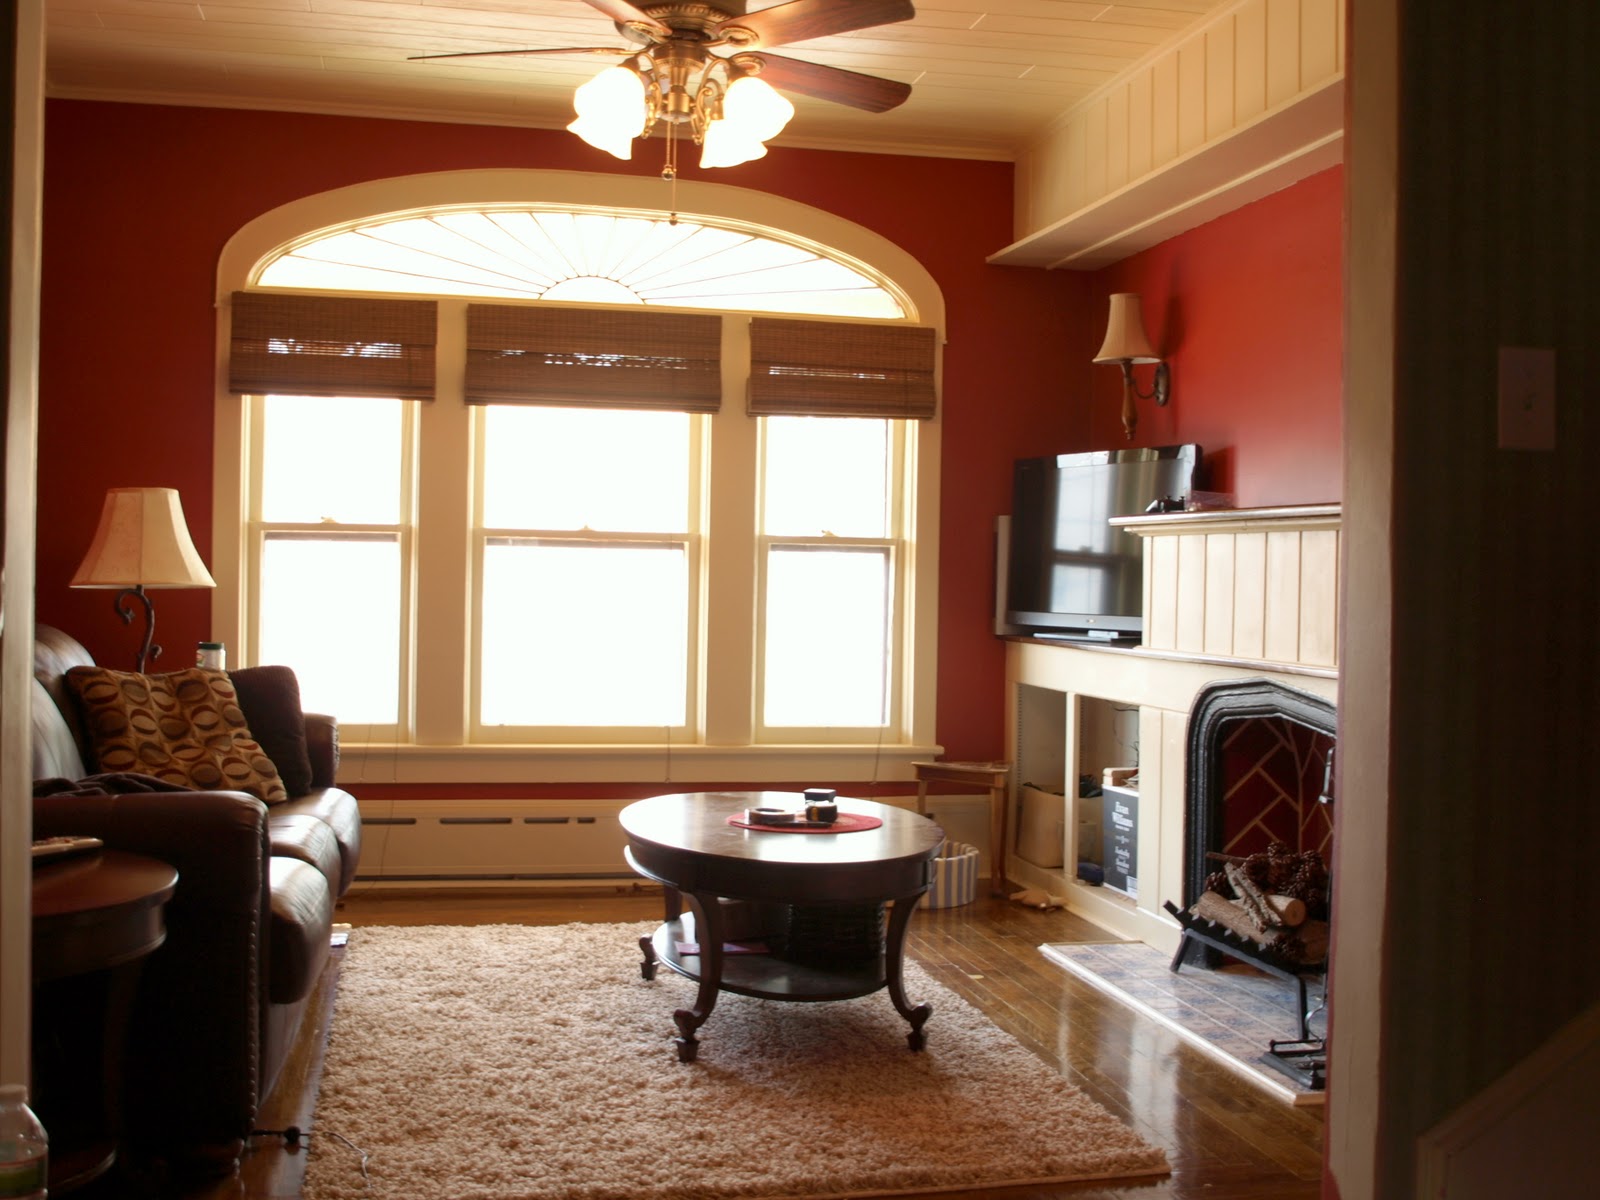
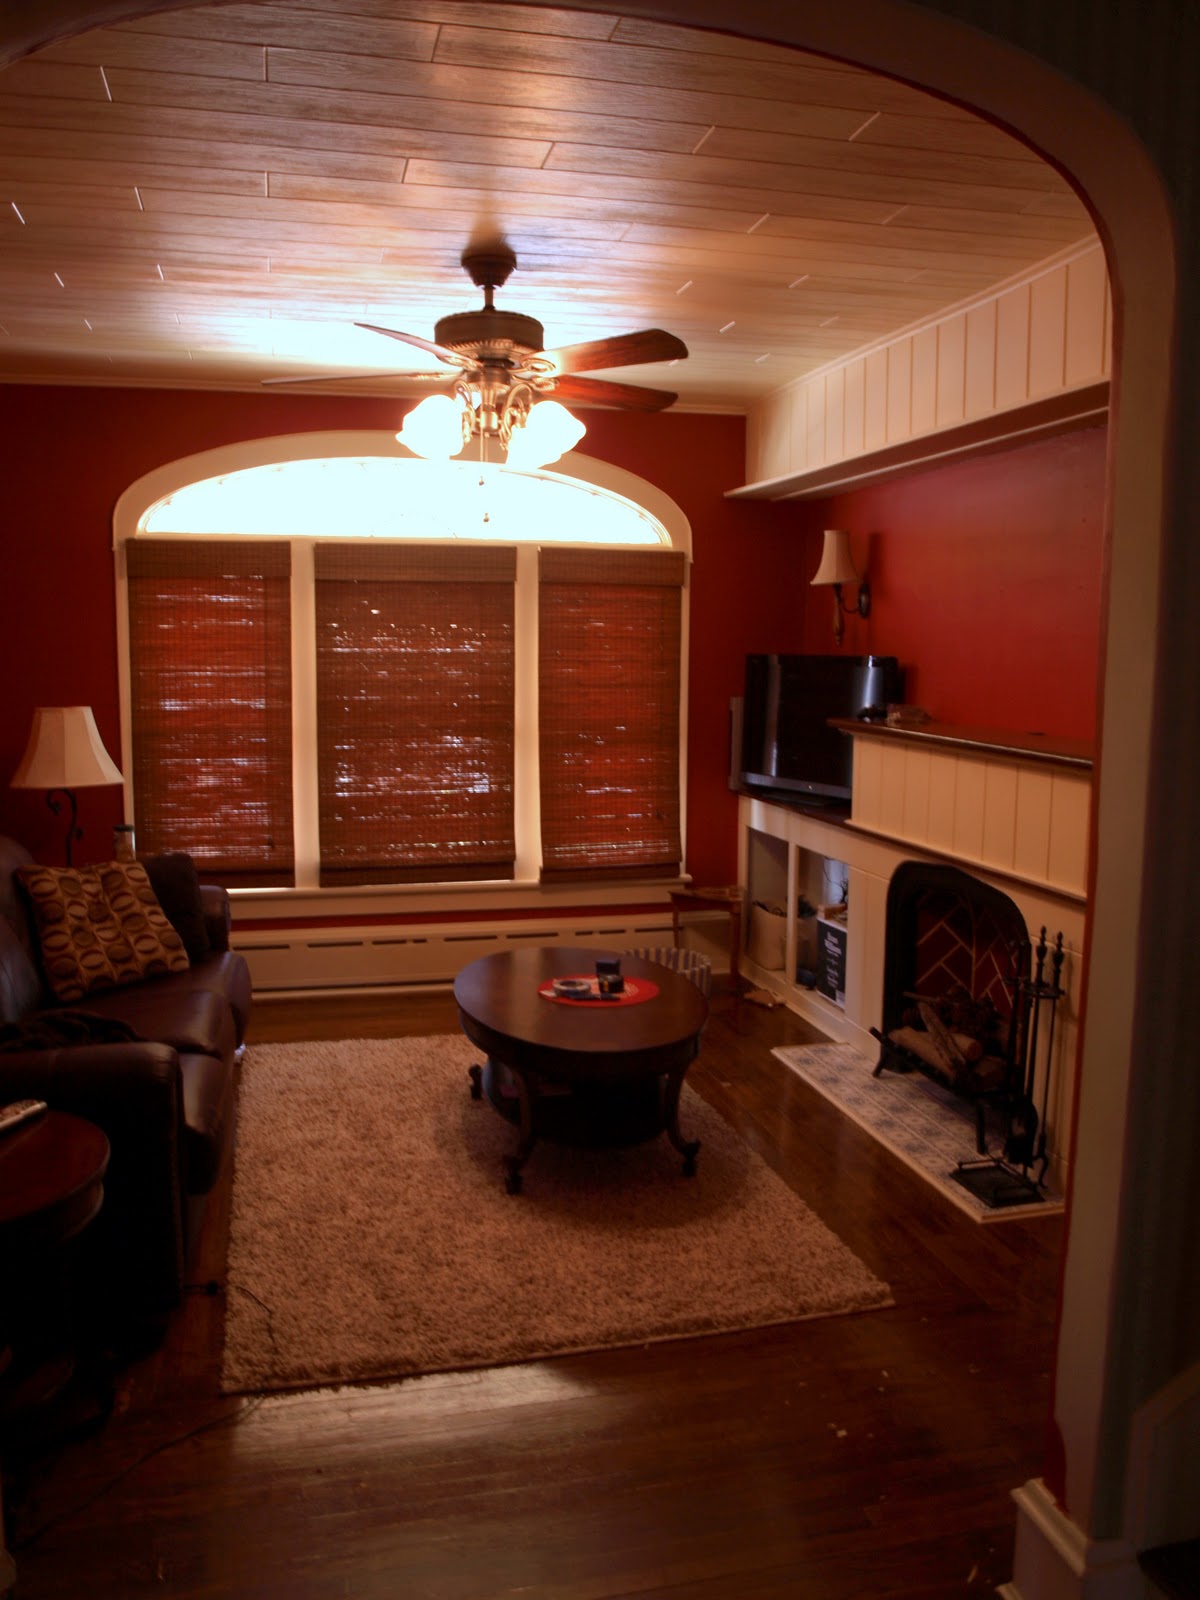
If you're curious this is what the room looked like before I started my tearing rampage! 

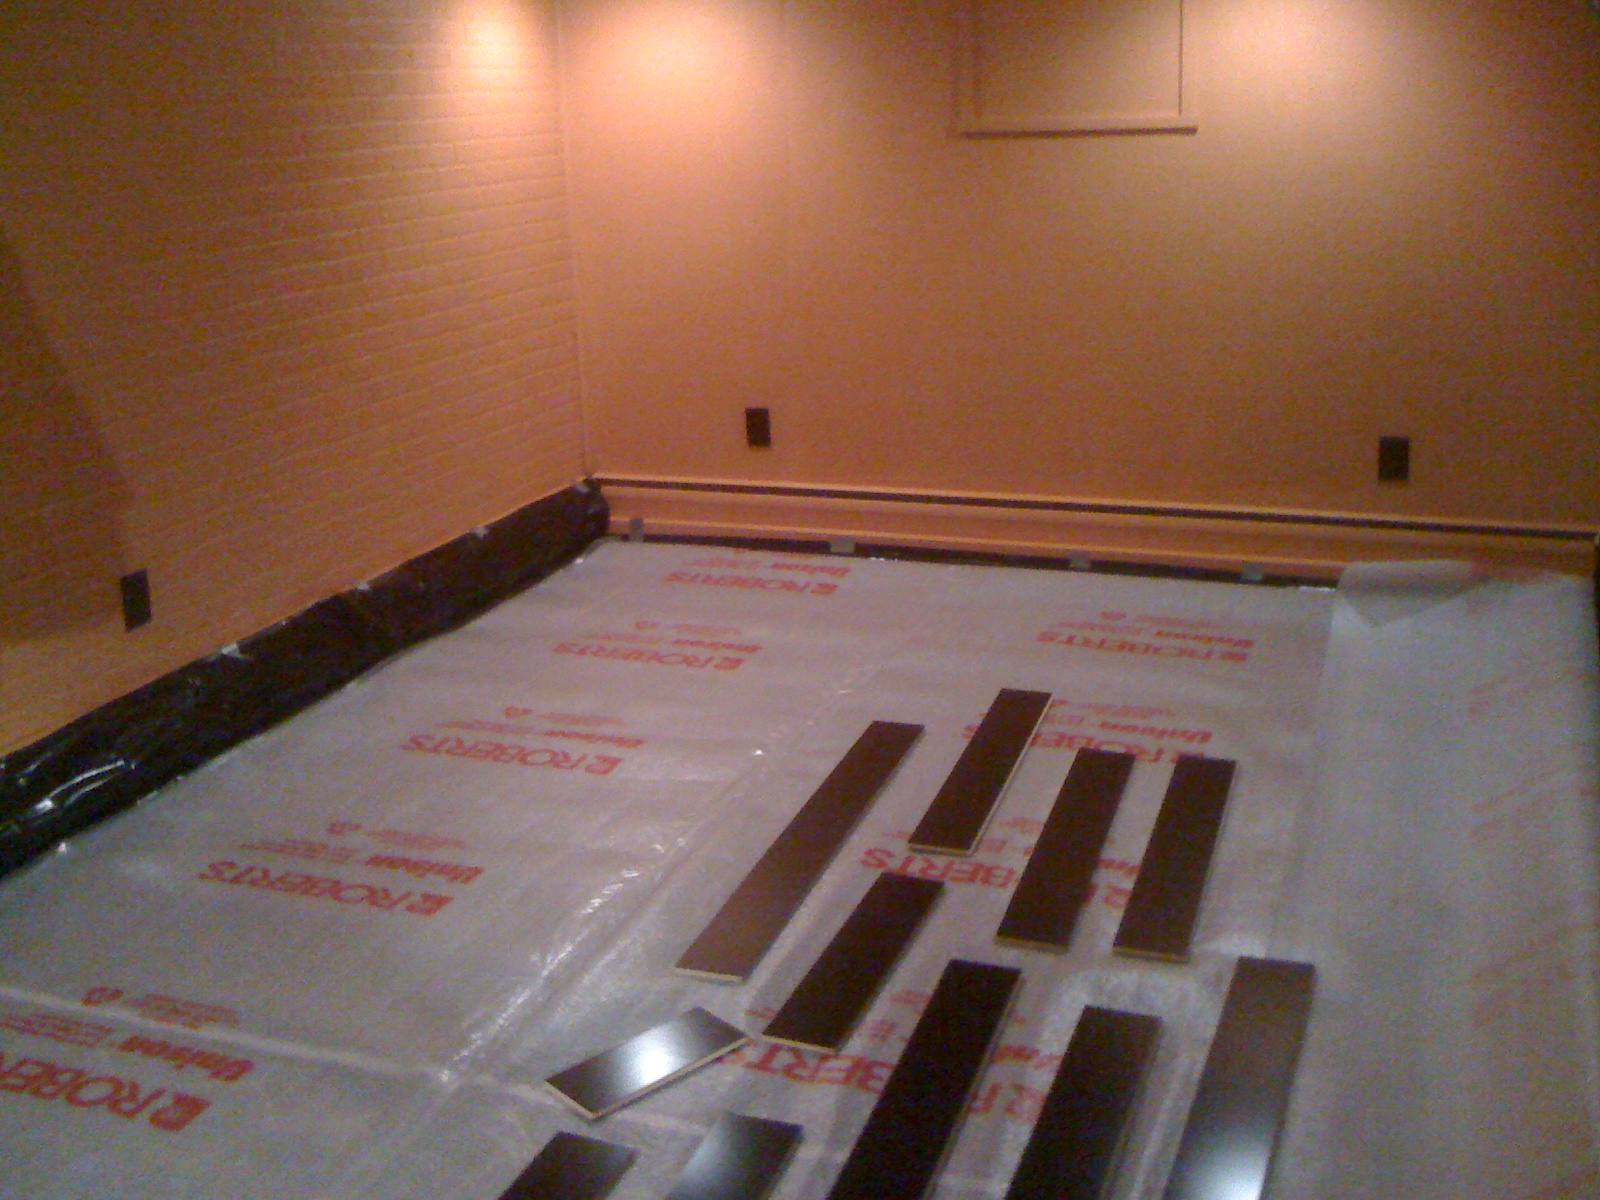
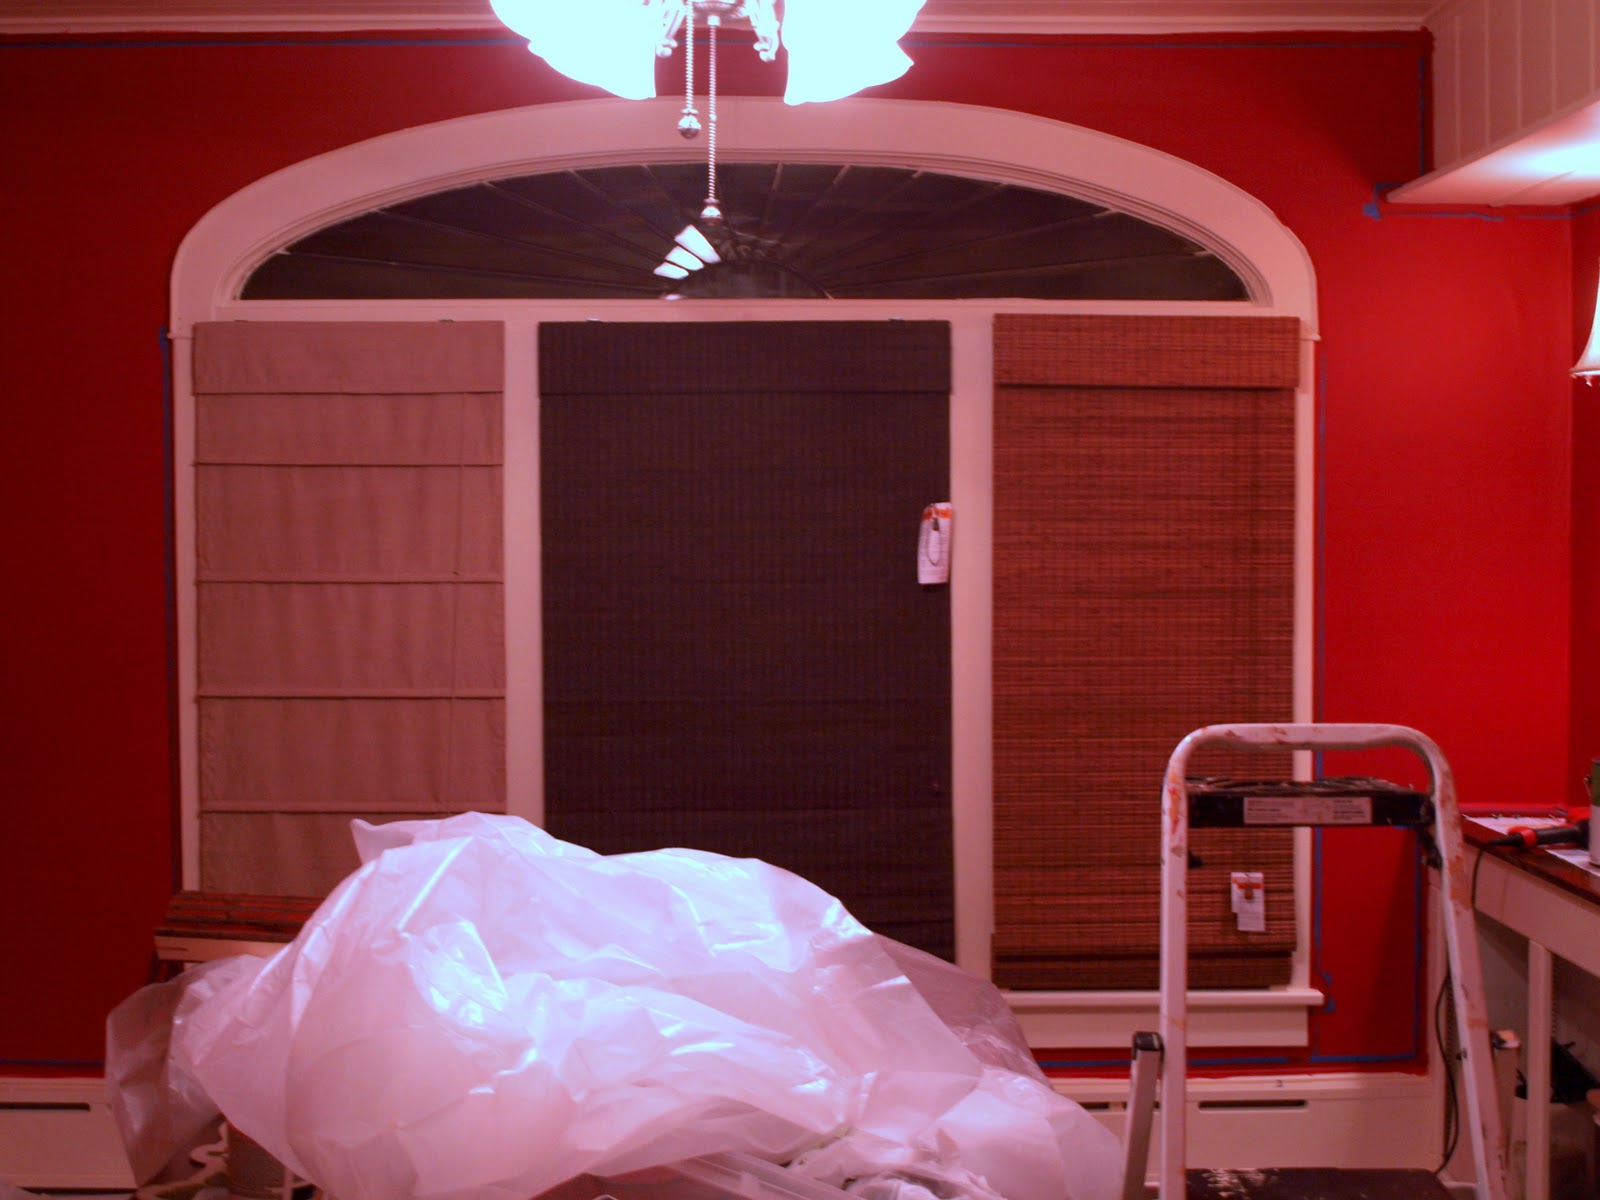
This is the wall shown above
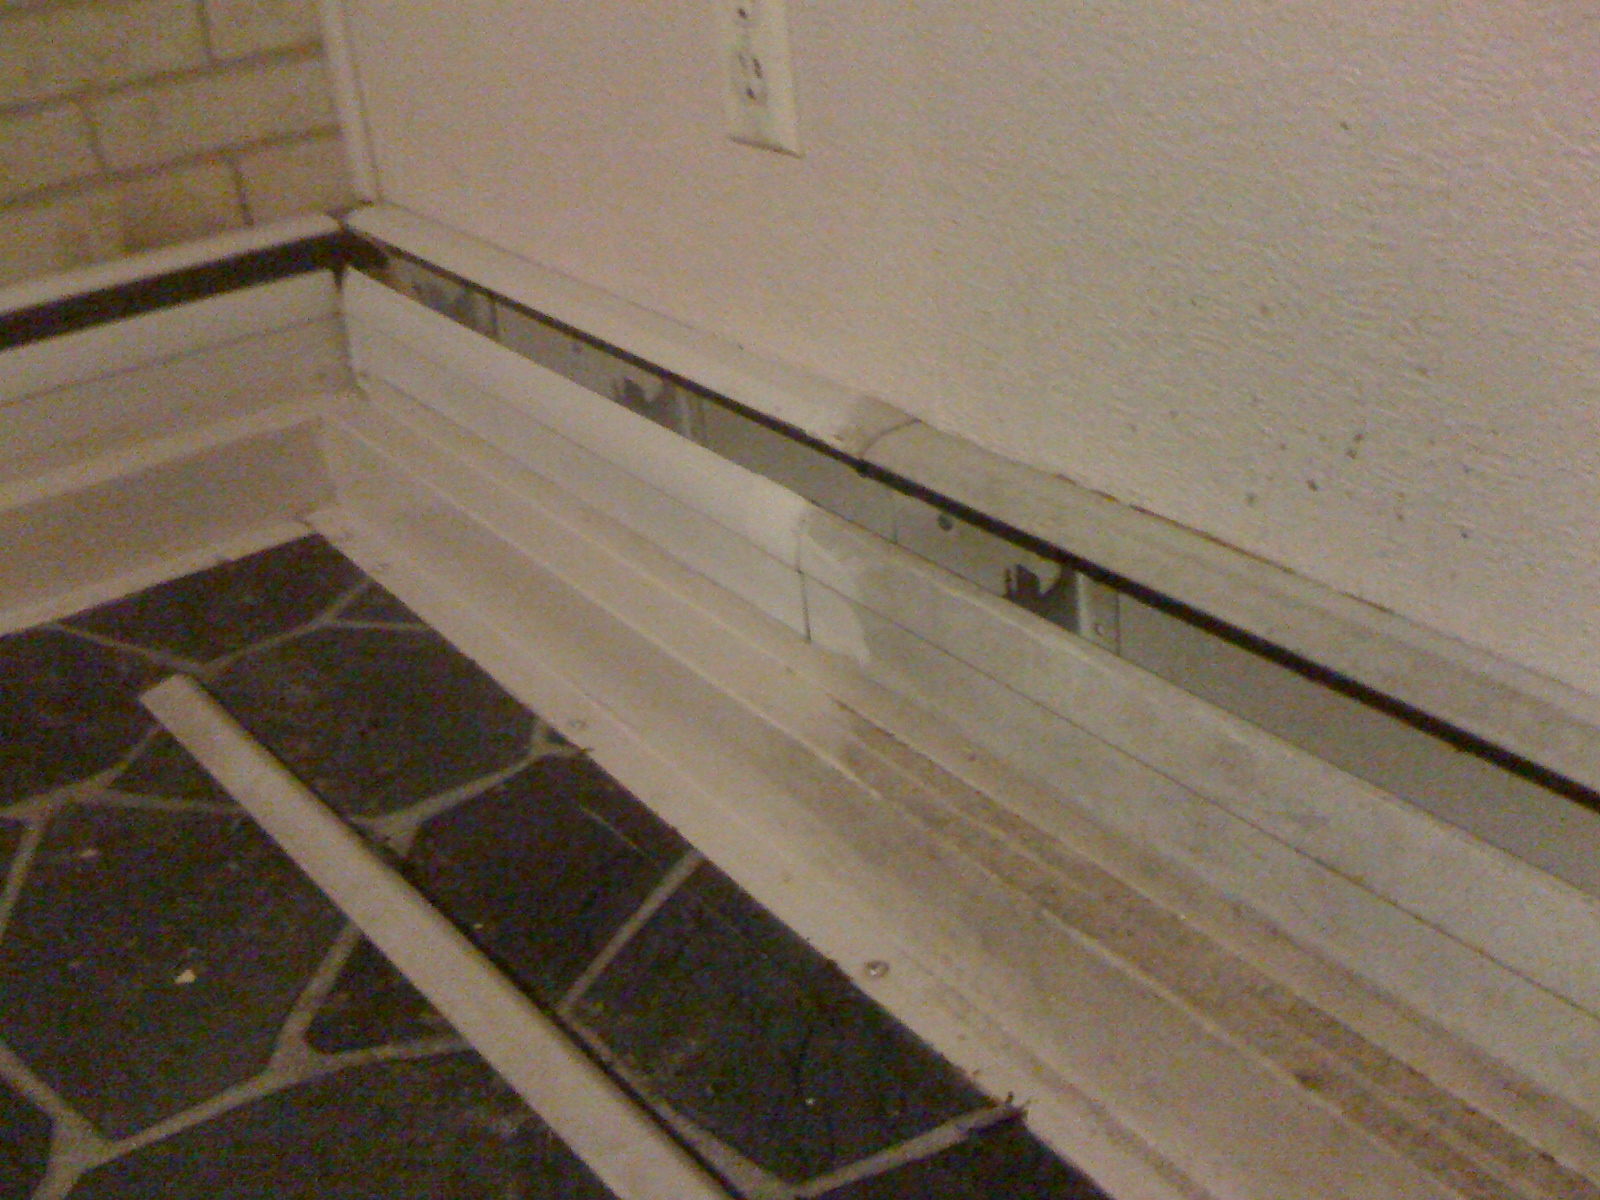
A close up of the wallpaper

Wednesday, March 23, 2011

Home Pets

This blog is about making our house into a home; one of the most important elements I have neglected to share so far is our pets!  They really do make our house a home!  I've added a new page so you can learn about our crazy animals (if you've never met them!).  

There are so many things they each do to make our house into a home.  It's easy to focus on the material things that go into a home but it's even easier to neglect the living things that actually do more to make a space feel like home!  Our animals do so many things to make us laugh and feel loved - two very important things in a home!  I'm going to try and share some of the funny, sweet and entertaining stories of the pets that make our house a home!  Stay tuned for some good laughs!! 

Here is a preview

Pnut was talking to Sanka about something here but Sanka was clearly very bored and starting to fall asleep!  (And yes I know, the animals should not be on the furniture - as soon as I snapped the photo I made Pnut get off!)

Friday, March 18, 2011

My First Date With an Avocado

The avocado is a new food for me.  At first I didn't care much for it, but once I learned how healthy it is I decided to get to know the avocado!  We were strangers, I knew nothing about it...thank goodness for suzyhomemaker!  She taught me how to pick the best avocado and she introduced me to the most common avocado recipe - guacamole.


I can now say I have successfully made guacamole!  There were a few bumps along the road...but I made it and love it!  Since this was my first "date" with an avocado I had no idea how to cut it open or get the pit out.
With some assistance I learned and thought I'd share for other avocado virgins!

1. Cut the avocado lengthwise.

2. Then use a spoon to separate the meat from the skin of the side without the pit.

3. Remove the pit...this was tricky - then hilarious! Here is what I was told from suzyhomemaker: Now to take out the pit, hold the avocado half in your non dominant hand. Take a knife, have the blade be facing the pit,not the point but the blade long wise should somewhat line up with the pit. Now carefully (cause if you get cut I will feel guilty) swiftly take the knife and hit it into the pit it should get stuck in there.  

I did as she instructed but the knife didn't get stuck so I hit it harder.  This caused the pit to pop right out and fly across the room, landing on the floor!  (that was the hilarious part!)

4. The last step was to cut the meat in chunks and mash with a fork.  It was much slimier than I thought it would be.  I started to think, "I don't think we're a good match Mr. Avocado."


 However, after adding the lemon juice, salt and garlic I decided to embrace the avocado!  The garlic makes it amazing!

I encourage everyone to have a date with the avocado...you might find you're a good match!

Space for Stuff

My friend, Suzyhomemaker recently posted about being anti-pantry.  While I understand her reasoning, I am a fan of the "pantry" or any type of storage space behind a closed door!  I recently completed a closet reorganization trying to make the most out of what hidden space I have.

We have a good amount of cabinets in our kitchen but we do not have a good amount of closets or storage spaces! There are certain things that just can't go into a kitchen cabinet...a vacuum, animal treats, recycling bins, mop bucket etc.  I was convinced that I could transform our cramped closet into a well organized storage space.
So I went to IKEA!  Now for me a trip to IKEA is an all day event...but a fun day out!

I can not share a before picture of the full closet, it is that embarrassing.  Just picture opening a door with one hand and bracing yourself for whatever might come tumbling out!


Here is one picture of a pile of stuff that came out of the closet, this is only about a third of everything that was in there!

My main goal was to create more shelves plus enough room to fit two vacuums.  As you can see by the shelves on the door, this closet was a mess!

I purchased a simple shelf that was high but not too deep allowing space for the vacuums!


The dog thought she might be interested in helping to put the shelf together, but decided the IKEA instructions were too complicated for her!


Here is the finished closet!  I was so excited and felt almost liberated!  I love opening the closet door now!


This is a close up of the blue "buckets".  They are from IKEA as well.  They stack and hold much more than I thought they would.

I am amazed with how much stuff I can store in my little storage closet now!

Wednesday, March 9, 2011

A Bargain Centerpiece

I wanted to create a centerpiece on the coffee table.  Something that brought an earthy feeling to the room.
I was able to create a warm yet natural, simple candle centerpiece without spending a ton of money. 

This project was cheap and easy!  I already had the wooden bowl.  During a fun trip to Michael's  I found the stones, red balls and wood bits.  (I'm not exactly sure what they are but they are beautiful in shape and color.) All of the pieces were prepackaged and on clearance for $2.50. 
  I knew I wanted a candle but I couldn't find the right color or size.  One thing I've learned is to be patient and the right thing will be found.  While looking for picture frames at Marshall's I found the exact candle I was looking for and it was only $4.99.  The scent was an added bonus - Amber Bark...it's amazing!!  Unfortunately since it was at Marshall's I don't think I'll find anymore of that scent. 

All together (besides the wood bowl) this project cost $7.50! It's all about the bargain hunting! 

A Room With "Feeling"

We've all heard that a room's decor and design can evoke a feeling but I think it's important that a room has a feeling...or texture.  Texture is something we feel and something we can see.  When designing our living room I wanted to use texture to evoke a feeling of comfort that enveloped each visitor.  I wanted to textures to be as as natural as possible.

On the windows I mixed bamboo blinds with linen curtain panels.

As you read previously these blinds were a  tough decision.

Home Depot came through with the best options!  These blinds offer an overlapping bamboo so while they allow a little bit of light in they do not allow nosey neighbors to see in!The linen softens the hard wood blinds and offers an airiness to the large window.  These were an awesome find!  I searched all the typical curtain spots...it was a constant disappointment.  Then one day during a Target shopping trip I thought, it never hurts to look... Surprise! Right color, right texture AND right price!

Texture on the floor is very important.  Nothing is more amazing then the perfect texture under your feet!  We have beautiful hardwood floors that are amazing but they are hard...amazing on the eyes, but not so nice to the touch.
The rug purchase was another surprise...Lowe's.  Who knew they had an amazing rug department??  When I saw this rug I was immediately drawn to the simple colors and exciting texture.  This run softens all the harsh lines and woods in the room while offering an amazing feeling underfoot!  It is so plush the cats won't walk on it!

Rug shopping tip: Not sure how an area rug will look in your home on the existing floor?  If you're in a flooring or home store take the rug (or a smaller version of it) to the floor section and lay it on a floor similar to yours.  You'll be able to see how the colors and textures work together. 


The last bit of texture is a simple addition to any room - lamp shades. The lamp shades add a bit of a swirl to a room with straight edges and lines.  The swirl design is a simple stitching that offers a slight raised effect to the shade.


Don't be afraid to mix textures.  When you mix a variety of textures you create a room that has feeling!

Tuesday, March 8, 2011

Basement to Theater Room

This is an old remodel but I thought it was important to include since it's an amazing transformation! A dark dingy room that was used for storage and to house some spiders (mice too apparently) turned into an awesome theater room that is nothing less than impressive on movie nights!

The Before


Once we got the room cleared out we needed to really clean!
This picture illustrates the before and after of my cleaning! It was disgusting!  But such an amazing difference made it fun!


A result of rewiring the house years ago was the missing ceiling tiles in the basement.  We needed to remove the remaining ceiling and put a new one up.  A very tedious job, ripping the staples out...finding dead mice! (Very traumatic for me!)

Recessed lights were installed strategically with dimmer switches. (There is not enough blog space in the blogosphere to cover the stories of "the electrics"...let's just say there are many wires and many switches that were changed many times!)

We also decided to cut part of the stair wall down to make the room seem larger. Instead of a straight wall floor to ceiling we angled it to match the angle of the stairs.  It does make a difference - much easier to get things up and down the steps as well! 

Next step was paint!  We wanted a fun color scheme and something that would be bright enough to make up for the fact that there are no windows, but could still be dark for movie viewing.


We went with an orange with one blue wall for an accent behind the "screen."


Once all the walls were painted we were able to lay the hardwood floor. 

 I should mention that yes, this is a basement and it has even experienced flooding but we re-caulked some installed flood tracking and felt that the warmth hardwood would bring outweighed the risk. 


The hard work was well worth it! (Everyone enjoys it!)

Tuesday, March 1, 2011

A Fine Line

I live with a perfectionist...at least when it comes to painting!  I am very impressed with the technique he used to create professional looking edges throughout the entire room.

The method requires patience, diligence, time and extra paint!

Step 1: Paint wall color onto walls and onto the trim. Do not worry about a straight line you want the wall color to be on the trim.
Step 2: Use painter's tape to tape along all edges.
Step 3: Paint wall color over the tape to seal the seam.
Step 4: Paint the trim color on the trim and onto the tape's seam.
Step 5: Be sure the paint is dry and remove the tape.
Step 6: Stand back and admire your work!

The extra time and work is well worth it! You will create a fine line

Buy, Try & Return


The decorating continues!  Big decisions were upon us...how to dress the window?  We thought we were set on the goldish silk roman shades but once the paint dried and things settled they just didn't look right.  Two hardware stores & five types of blinds later we made our decision!  When you stand in the store there is really no way to know if the blind is going to look good or not.


So we bought them all, tried them all and then returned what didn't work. (Thank goodness for credit!)  I highly recommend this process to anyone struggling to dress their window.  A window's decor can really make or break a room - especially in this room where it is basically an entire wall.


The winner was the one on the right.  It's had a nice texture and also provided the right amount of privacy.  Next step is the curtains.  The windows still need a layer of softness.  So again, I will buy, try and return! 


Related Posts Plugin for WordPress, Blogger...