
I tend to hang traditional wreaths on my doors for the seasons and holidays, but decided to think outside the box this spring season. Instead of a circle wreath I went with a rectangle!

Putting the door hanging together didn't take much time at all. Creating the letters was the time-consuming part, but if you want to simplify the project you could just paint or stain them. In fact, I started by staining the letters then I mod-podged some scrapbook paper onto the fronts of the letters.

I wanted them to have a weathered look so I used some steel wool to sand the edges.

I applied another layer of mod-podge after they were sanded to seal the edges.
Once that dried they were ready to be attached to the burlap.
I had to cut my large piece of burlap.
If you've ever had to cut burlap you know it can be tough...but I have a trick!
Find the "line" where you want to cut. Snip the end and pull the string. The burlap will start to gather...stretch it out and keep pulling.

You should be able to pull it all the way through. (sometimes you need to snip the other end to get it to come through) Once it's through you will have a gap. Take your scissor and cut right down that gap. It won't be a perfectly straight edge...come on, this is burlap...but it will be as straight as you can get it!

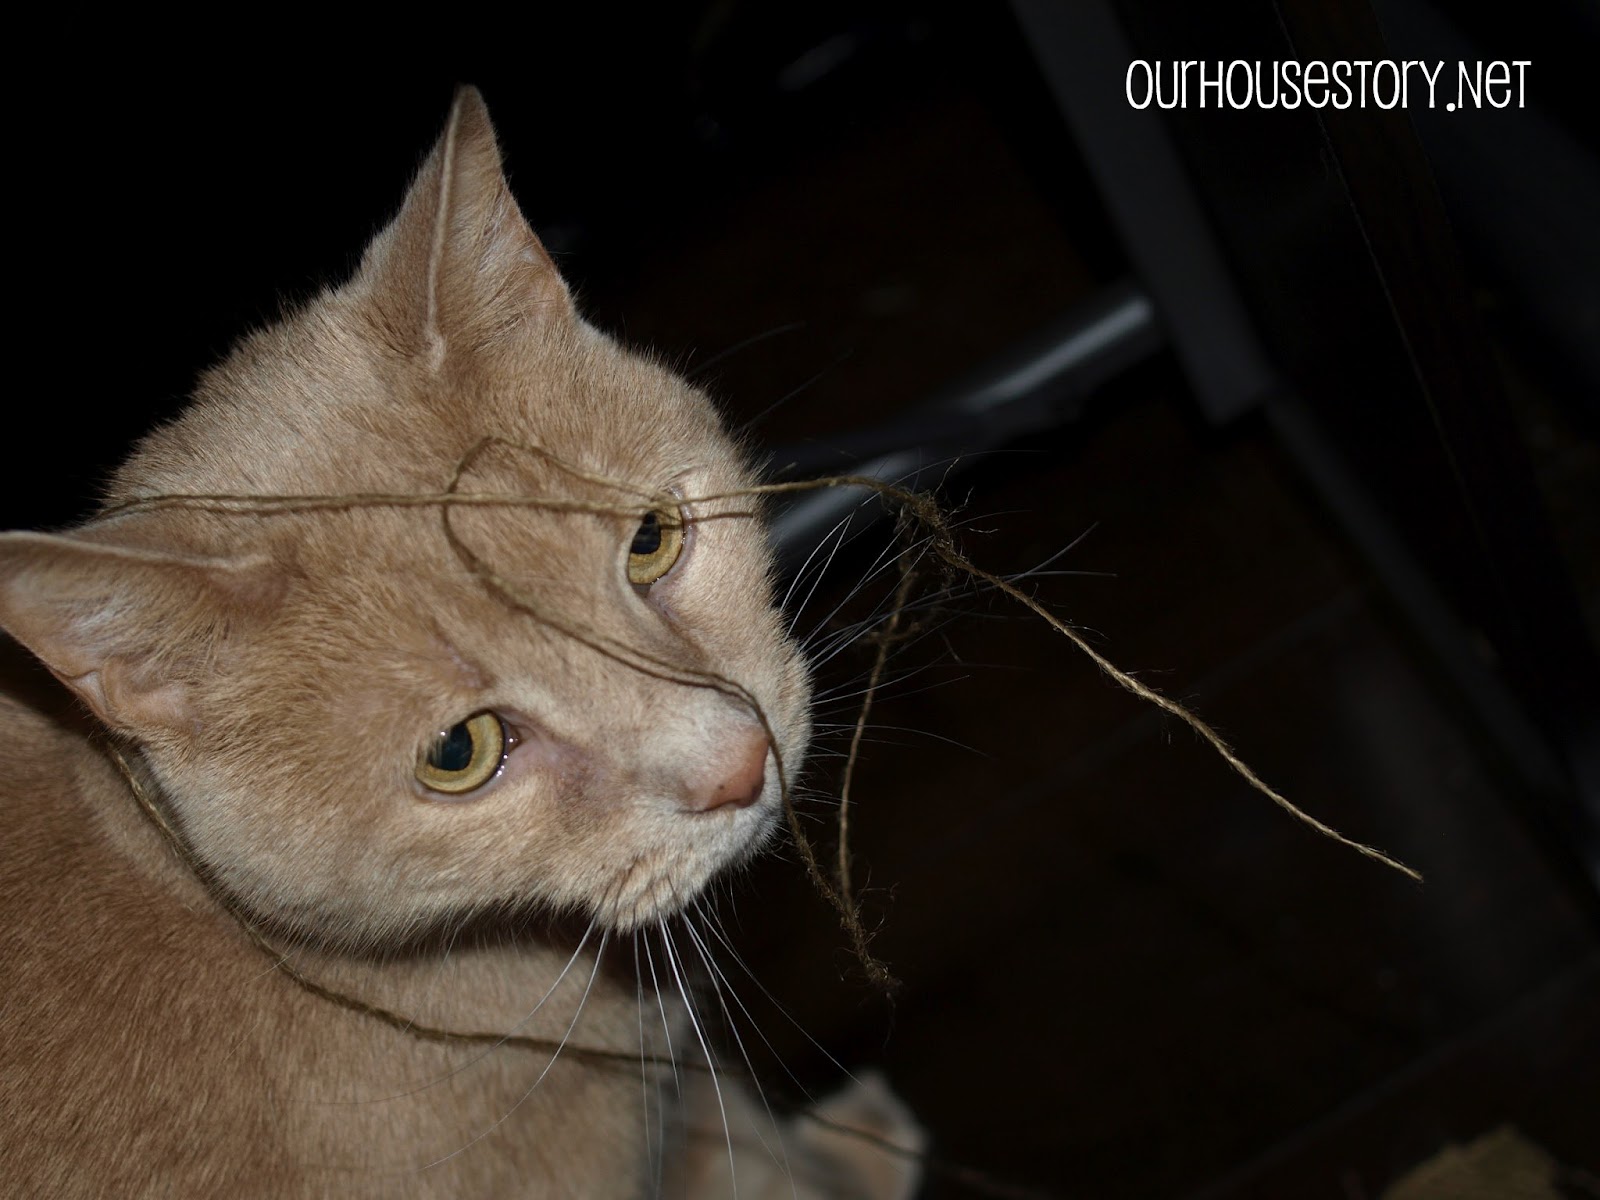
My friend Peanut loves to help me out anytime there is string involved. In fact, he carried this piece all the way up two flights of stairs and set it on his windowsill. Maybe he's planning to give it to a bird friend for a nest?
Okay, back to the door hanging. Once the burlap was cut I chose to use mod podge to attach the letters. At first I was going to use hot glue, but that gets very messy with burlap. Plus the mod podge will dry clear!


I gave the letters about 24 hours to dry, but i'm sure they were dry sooner! My final step of this project was to create some fringe on the hanging and create a way to hang it on the door. I decided to fold over a few inches of the top and sew a fold using a string taken from the burlap. (The easiest way to do this is to use an upholstery needle!)

I pulled about four rows out of the sides and bottom to create a fringe.

I've never had such a large door decoration, but I think I like it!
It's different than the traditional wreath...and I like different!

It's almost time to party! I'm teaming up with Suzy from suzyhomemaker.net for a Patriotic Link-up Party! Be sure to come back and link up!

Linked to:


I love your burlap trick. Very clever.
ReplyDeleteLove the love you gave the letters to make them look just right! Came over from Whatever Goes.
ReplyDeleteDistressed donna Down Home
Thanks Donna! It was my first distressed project...now that I found your blog I will have to try a few different things! :)
DeleteWhat a clever burlap trick! I'll have to remember that next time I work with it!
ReplyDeleteThanks for stopping by Pamela! I hope the tip helps you out! :)
DeleteWay Cute! And I had never thought of using steel wool to distress! LOVE IT
ReplyDeleteCute! Loving the burlap! We appreciate you linking up to our “Strut Your Stuff Saturday.” We love seeing all of the great recipes and fun ideas! Hope to see you again next week! -The Sisters
ReplyDeleteThis is adorable! Love the burlap and your distressed letters are awesome!
ReplyDeleteI am your newest follower~
xoxo
Amie @ Pinkapotamus