Recently I decided to try sewing to see if I like it...I do! I enjoy the creative process of thinking through how I'm going to get fabric and thread to create the image in my mind! I have a good friend who has had the patience to help me through this learning process. (She's recently started sharing some of her great lessons on her blog - check it out!)
One of my first projects was creating a Union Jack pillow.
As I've mentioned before my other half is British so I like to have little splashes of his homeland scattered around our home! I was also in need of a big comfy pillow to make my seat on the sofa a bit more comfortable!
I had a grand vision in my mind. I wanted to use some of the sheepskin I picked up during a recent trip to England and I wanted the center of the pillow to be the Union Jack. How hard could it be, right? Sigh...maybe not hard, but tricky for sure!
Creating the Union Jack was the most complicated part of the whole project. It required lots of planning, thinking, planning and then a bit more thinking before cutting!
I gathered some corduroy fabric remnants with a variety of wales. This combined with the sheepskin added some great visual texture!
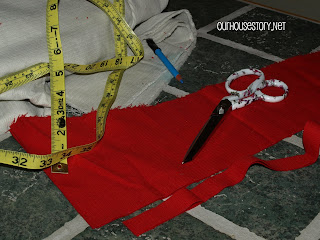
The first thing we did was measure all the parts of the flag. (Don't forget measure twice, cut once!)
 |
| Sewing Teacher Extraordinaire |
The next step was to create the stripes. Make the stripes twice as wide as you need and sew them up right sides together so they are like a tube, then flip them inside out so the right side is now outside and you have a nice neat stripe!
Continue this process for all the stripes then assemble them following the flag pattern so you ensure you get the red stripes in the right position.
Once the flag was assembled and sewn together we were ready to attach the sheepskin to the sides and back of the pillow. I quickly learned that sheepskin is very thick and hard to sew because of the nap.
One of the tricks is to sew slowly and make sure you're tucking the nap in to prevent it from getting sewn into the seam.
Valentine quickly made this pillow her favorite.


This turned out great. I hope you'll stop by and add this and any other posts you're proud of to my Wednesday What We Wore and Made Link party
ReplyDeletemarissa
http://raegunwear.blogspot.com
Thank you Marissa! I will be sure to check out your link party next Wednesday!
Delete